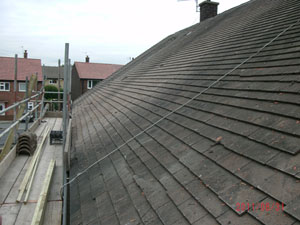
Step One
The property has the scaffolding erected and the roof prepared in readiness for work to commence.
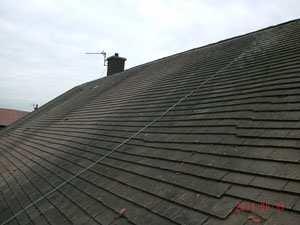
Step Two
The roof is clearly in a state of dis-repair and overdue replacement.
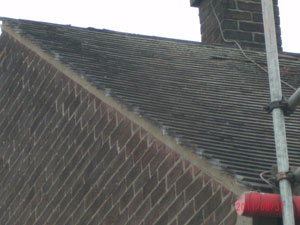
Step three.
The old traditional mortared gable edge protection is clearly shown. The new UPCu dry verge will eventually protect the gable edge {see step 17}
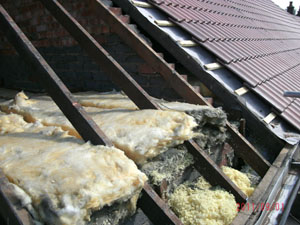
Step four.
The roof is removed of its old roof covering and top up of insulation values to current government legislation begins.
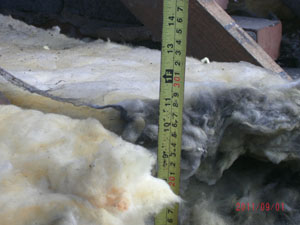
Step five.
New Government legislation states by law under the “Replacement of a Thermal Element “ that roofs require top up to 270mm in accordance with Building Application conformities
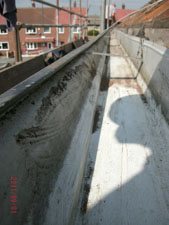
Step six.
Your guttering system is then cleared of all debris to allow free flow of rainwater.
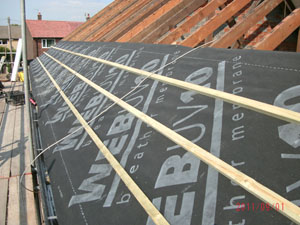
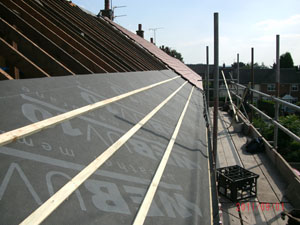
Step seven.
The felting of the roof can now begin. This laps approx 50mm into the guttering but does not sit in any standing water
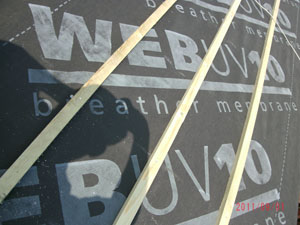
Step eight.
Note to conform with Regulations the felting is breathable and has a UV value.
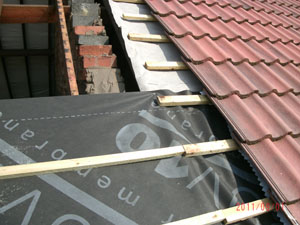
Step nine.
The joint between your neighbor is fully bonded by extending the felt over the party wall by the width of one full roof tile. This is achieved by removing one leg of the neighbouring roof tiles. This leg is of course placed back before tiling of your roof commences.
Step ten.
Treated roof battens are then set out as to allow the correct lap over each roof tile (min of 75mm lap is required to conform with Building Regulation Specifications).

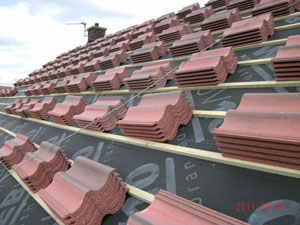
Step eleven.
The roof is loaded up with your chosen roof tiles. This client has chosen a random mottled red for its unusual effect in differing sunlight conditions.
Step twelve.
The roof is now almost fully loaded.
Step thirteen.
The roof tiles are nailed with galvanized nails.
Step fourteen.
The roof tiles are nailed to the battens beneath.
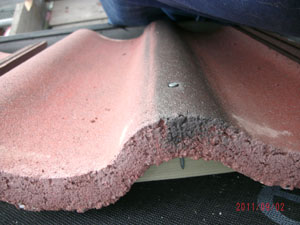
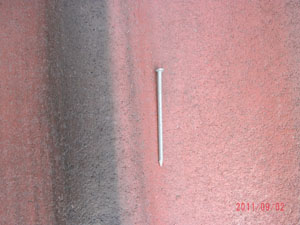
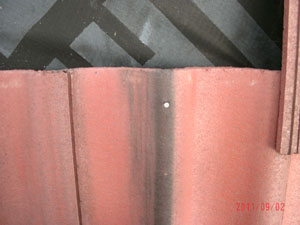
Step fifteen.
This picture depicts how important it is to use the correct length of fixing. The nail holds down the roof tile by passing most of the way into the batten but does not breach the new felting system. It is pretty obvious but we have deliberately missed the batten in this picture in order to illustrate this important point.

Step sixteen
The process is then repeated throughout the tiling of the roof.
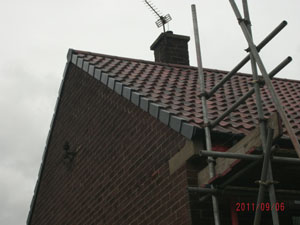
Step seventeen.
Referring back to step three the roof has now been ridged and PVCu dry verge edges have now been mechanically fitted.
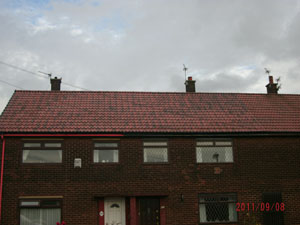
Step eighteen.
The scaffold is down and your new roof is complete.