Flat Roofing
We at Ashton Roofing take great care and pride in our work, and we wanted to show you just how much care we take in repairing and replacing roofs by showing you a step by step guide to how we approach our work.
Below is an example of how we replace a built up flat roof. Having your flat roof replaced by us in this way provides you with a 20 year warranty, and when you take the time to see the quality of the materials we use, and the methods we employ, you can see why we are happy to provide a 20 year guarantee on our work.
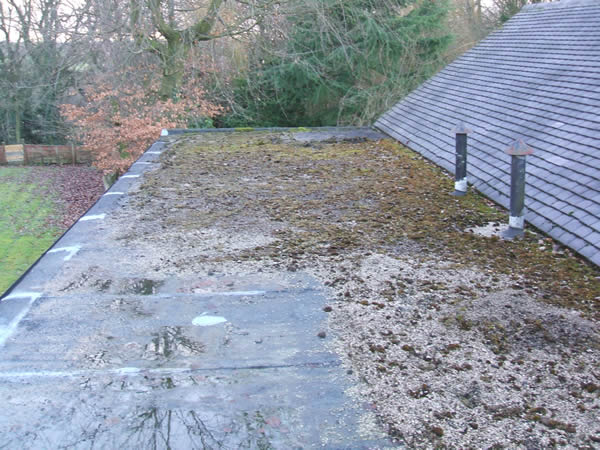
Step one.
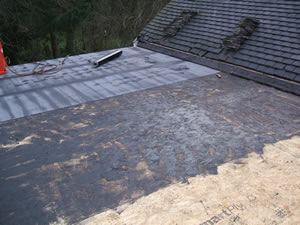
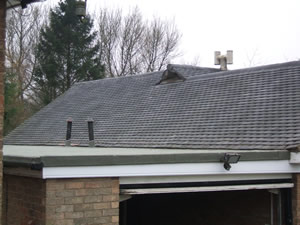
The old perished flat roof is clearly evident, standing rain water, due to the flatness of the roof decrease the life expectancy of the roof.
We begin by removing the entire surface which includes the felt and underboards. In this particular example we have an encroaching tiled roof to contend with. We remove the first few courses of roof tiles in order to fit a backboard rise which you will see later. On particularly large flat roofs such as this one we will only remove sections at a time to allow us to cover protect the roof overnight.
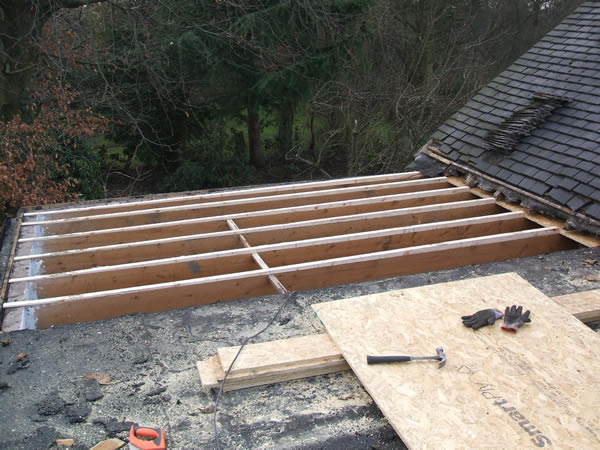
Step two.
As each section of the old roof is removed, ‘furrings’ which provide the roof with a gradient tilt from 50mm to zero. In this case the guttering is on the left hand side of the photograph, therefore the opposing side is built up highest, thus creating a downhill slope towards the gutter.
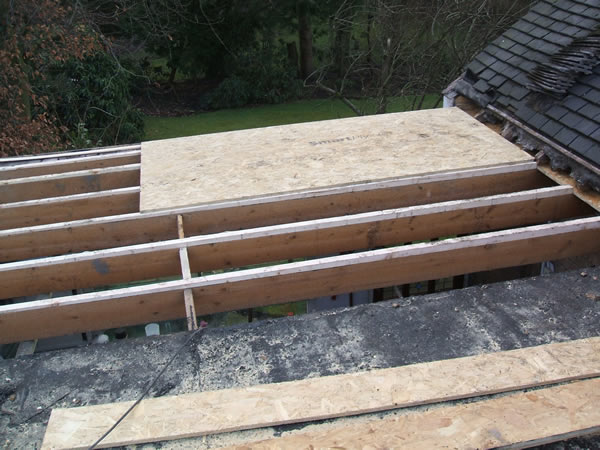
Step three.
The furrings upon this section of open are now fixed in place. We now begin to deck out the roof with Smart Ply roof decking which will now naturally follow the slope of the furrings.
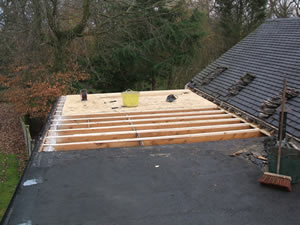
Step four.
Continue the above throughout the entire surface area of the roof.
Step five.
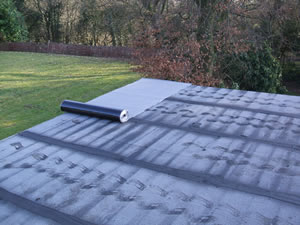
The newly fitted surface boards are now primed in readiness for felting. The first layer of SBS Ruberoid Felting is applied and the backboard rise is fitted to form an upstand at the junction of felt and tiled roofs.
Step six.
After the entire surface area of the build up flat roof has been completely layered, the second cross bonded layer is applied.
Step seven.
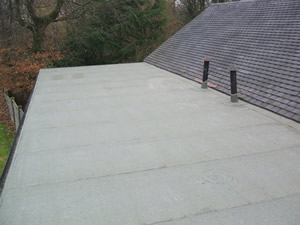
The third and final layer is applied. At this point, the flashing point rises up the previously fitted backboard rise and the roof tiles are returned as each section is completed.
Step eight.
The roof is now complete and clearly now slopes into the guttering system on the left. This roof will not allow rain water to stand on it’s surface, thus dramatically increasing the life span and allowing us to guarantee your new built up flat roof for the next 20 years.
Step nine.
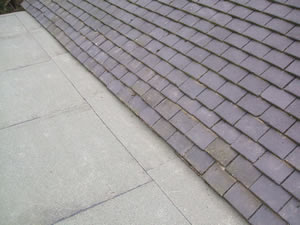
A final look at the view you will have of your roof from the ground. Straight neat edge drips that come over and protect the fascia boards and lap into the guttering ensure a fully watertight and cosmetically pleasing finish.
Superior Materials
Smart Ply
Smart Ply is CE Kite Marked and EU approved for exterior timber use.
SBS Ruberiod Felting
SBS Ruberoid felting is part of the range of superior materials we use when creating a new built up flat roof for any of our customers.